Cleaning a Coffee Maker: The Ultimate Guide to a Fresh and Long-Lasting Brew
Your coffee maker is one of the most essential kitchen appliances — it greets you every morning with the rich aroma of freshly brewed coffee and keeps you energized throughout the day. But while we focus on perfecting our favorite brew, we often overlook one crucial step: cleaning the coffee maker. Over time, mineral deposits, coffee oils, and bacteria can accumulate inside your machine, affecting both the taste and the lifespan of your appliance.
Cleaning your coffee maker regularly not only ensures every cup tastes fresh and pure, but also extends the life of your machine. Whether you use a drip coffee maker, single-serve brewer, or espresso machine, this guide will walk you through how to clean your coffee maker step-by-step using simple, natural household ingredients.
Why Cleaning Your Coffee Maker Is Essential
Every time you brew coffee, natural oils from the beans cling to the carafe, basket, and internal parts of your machine. These oils can go rancid over time, making your coffee taste bitter or sour. Hard water can also leave behind limescale and mineral deposits, clogging internal tubes and reducing brewing efficiency.
Even worse, the warm, moist environment inside a coffee maker can become a breeding ground for bacteria, mold, and yeast. Studies have shown that unclean coffee machines can harbor more germs than a bathroom sink! That’s why consistent cleaning is key — it keeps your coffee flavorful and your machine in top condition.
Signs Your Coffee Maker Needs Cleaning
Wondering if it’s time for a deep clean? Look for these common signs:
-
Your coffee tastes odd or bitter, even with fresh beans.
-
Brewing takes longer than usual.
-
The machine sputters, gurgles, or makes strange noises.
-
You see stains or oily residue in the carafe or water reservoir.
-
White or chalky buildup appears on internal parts.
If you notice any of these, it’s time to clean your coffee machine thoroughly.

What You’ll Need to Clean a Coffee Maker
You don’t need expensive or specialized cleaners. Most cleaning supplies can be found in your kitchen:
-
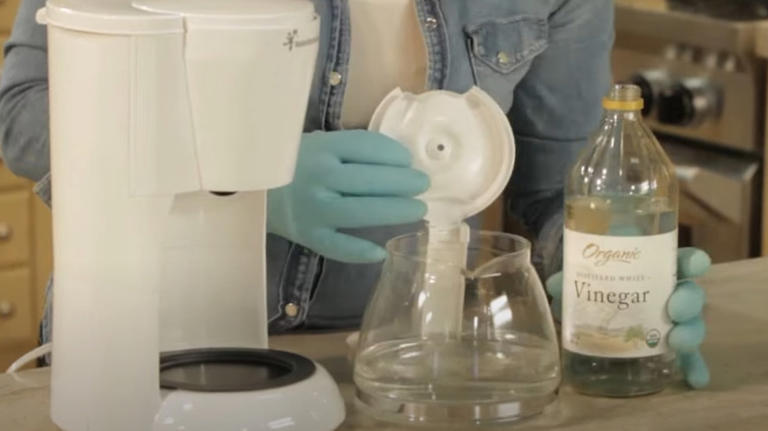
White vinegar or lemon juice – for descaling and disinfecting
-
Baking soda – optional, for deodorizing
-
Dish soap – to clean removable parts
-
Clean sponge or soft cloth
-
Paper filters or reusable coffee filter
-
Water – for rinsing
-
Small brush or toothbrush – for hard-to-reach spots

How Often Should You Clean a Coffee Maker?
Consistency is the key to great-tasting coffee and a long-lasting machine. Follow this simple schedule:
-
Daily: Rinse and wipe the carafe and filter basket after every use.
-
Weekly: Wash removable parts with warm soapy water and let them air dry.
-
Monthly: Run a full vinegar cleaning cycle to descale the machine and remove mineral buildup.
Regular maintenance prevents deep grime from forming and keeps your coffee tasting fresh every day.

How to Clean a Drip Coffee Maker (Step-by-Step)
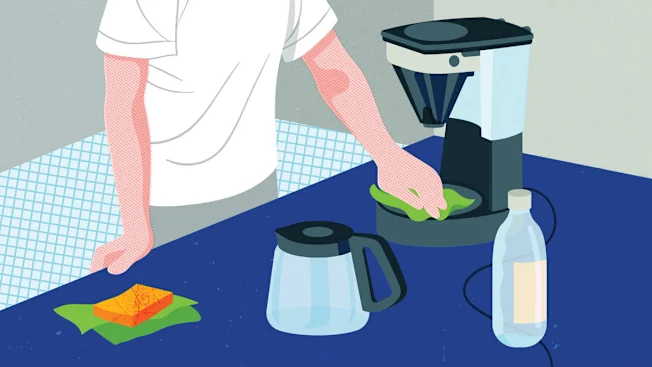
Step 1: Empty and Rinse
Start by removing any leftover coffee and used grounds. Rinse the carafe and basket with warm water to eliminate loose debris and coffee oils.
Step 2: Prepare a Cleaning Solution
Mix equal parts white vinegar and water. For a 12-cup machine, use six cups of vinegar and six cups of water. This natural solution works wonders at removing bacteria, oil residue, and mineral buildup.
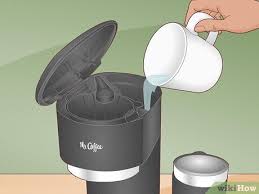
Step 3: Fill the Reservoir
Pour the vinegar-water mixture into the coffee maker’s water tank — just as you would when brewing coffee.
Step 4: Start the Brewing Cycle
Turn on the coffee maker and let it brew halfway. Then, pause the cycle and allow the machine to sit for 20–30 minutes. This soaking time allows the vinegar to break down limescale and loosen residue inside the machine.

Step 5: Complete the Cycle
After 30 minutes, resume brewing and let the rest of the solution pass through the system.
Step 6: Rinse Thoroughly
Once the cycle is complete, pour out the vinegar mixture and rinse the carafe. To remove any lingering vinegar odor or taste, fill the reservoir with fresh water and run two or three brew cycles. Be sure to use new water each time.
After rinsing, your coffee maker should be sparkling clean and ready to deliver a fresher, richer brew.
How to Clean a Single-Serve Coffee Maker
For pod-style coffee machines, fill the water tank with the same vinegar-water mix and run a brewing cycle without a pod. Pause halfway through for 15–20 minutes, then finish the cycle. Run two full cycles with clean water afterward to flush out any vinegar.
Don’t forget to clean the pod holder and drip tray with warm, soapy water weekly. These areas often trap spilled coffee and mold if not cleaned regularly.
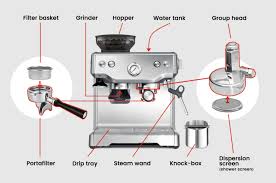
How to Clean an Espresso Machine
Espresso machines require special care because of their internal steam systems.
-
Run a vinegar-water mix through the water tank.
-
Let it sit for 15 minutes.
-
Then flush the system with fresh water until there’s no vinegar scent.
-
Remove and clean the portafilter, group head, and steam wand separately using a brush and dish soap.
This ensures smooth water flow and great espresso flavor every time.
Maintenance Tips for a Cleaner Coffee Maker
-
Use filtered water – reduces limescale buildup.
-
Empty the carafe after every brew – never leave coffee sitting for hours.
-
Keep the lid open – helps dry the inside and prevents mold.
-
Replace paper filters regularly – or clean your reusable one after every use.
-
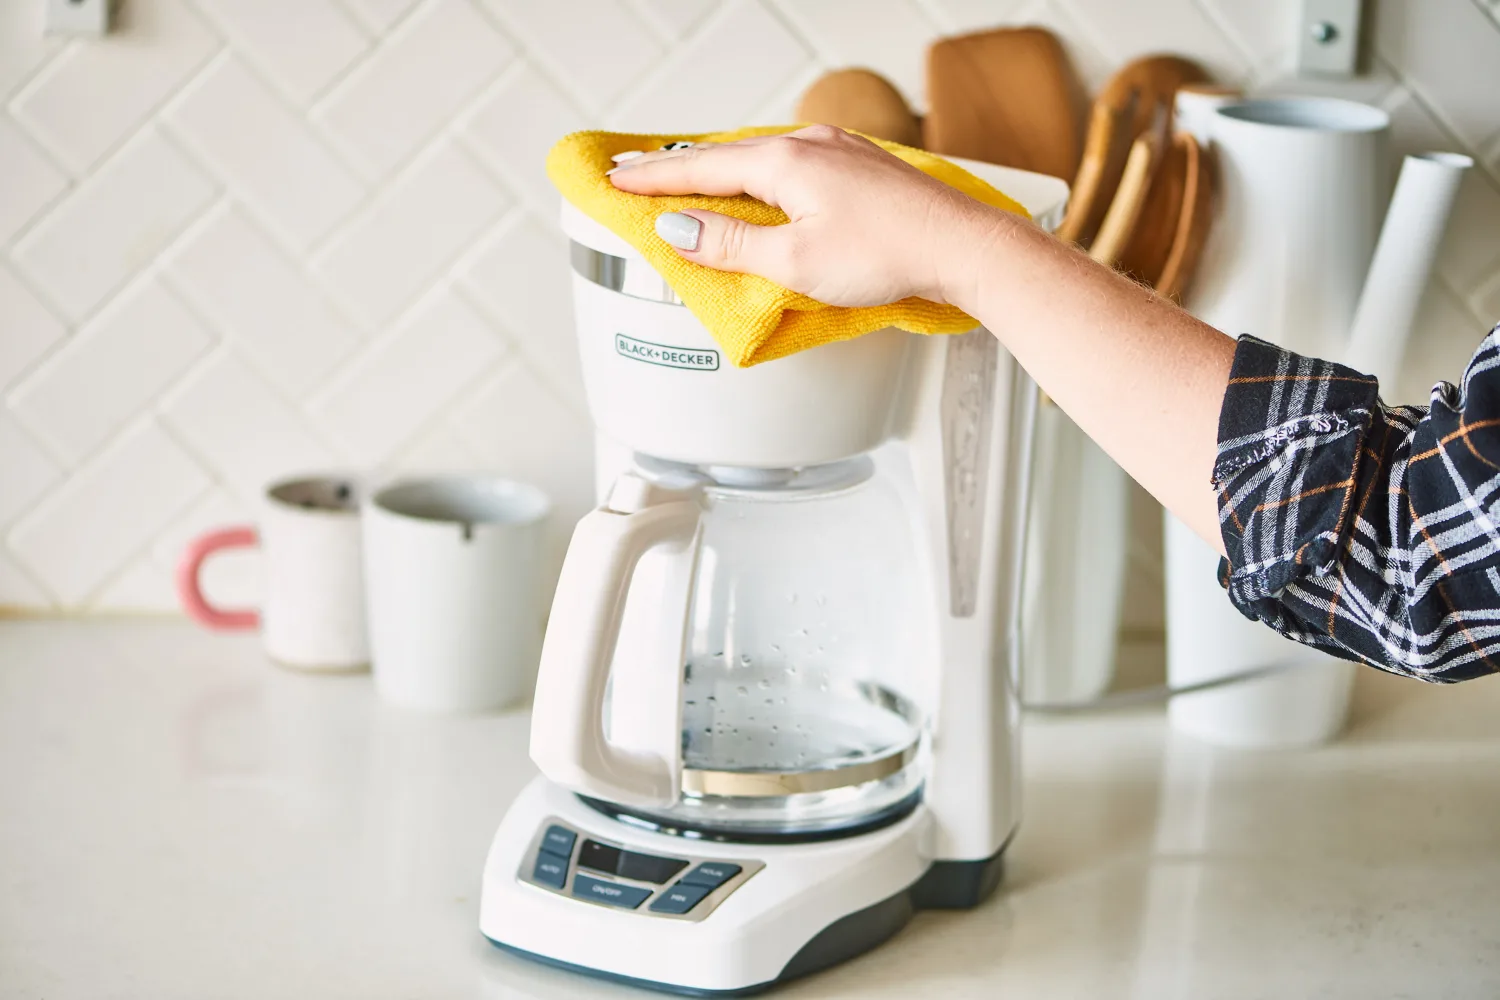
Wipe the exterior – don’t forget to clean the outside of the machine to keep it looking new.
How to Clean a Coffee Maker and Keep It Fresh: The Complete Guide
A clean coffee maker isn’t just about appearance — it’s the key to better-tasting coffee and a longer-lasting machine. Over time, mineral deposits, coffee oils, and residue can build up inside, affecting the flavor and performance of your coffee maker. Whether you use a drip coffee maker, single-serve machine, or espresso machine, this guide covers how to clean every part safely and effectively.
Cleaning the Removable Parts
Before diving into descaling or vinegar cleaning, it’s essential to clean the removable parts of your coffee maker. These parts often trap leftover oils, coffee grounds, and stains.
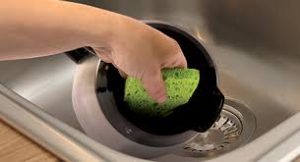
Carafe:
Wash the carafe in warm, soapy water after every use. If there are stubborn stains or coffee residue, sprinkle baking soda inside, add warm water, and scrub gently. Baking soda naturally lifts stains and removes odors without damaging the surface.
Filter Basket and Lid:
Clean the filter basket and lid by hand using mild dish soap. If the basket has oily buildup, soak it for 10 minutes in a 1:1 vinegar-water mixture. This helps dissolve residue and restore freshness.
Exterior Surfaces:
Wipe the exterior and warming plate with a damp cloth. Coffee drips can burn and harden on the plate, so regular cleaning prevents permanent marks.
After cleaning, let all parts air dry completely before reassembling your coffee maker.
Substitute Cleaning Methods (Without Vinegar)
Not everyone likes the smell of vinegar. Fortunately, there are several alternative ways to clean your coffee maker effectively.
Using Lemon Juice:
Lemon juice has natural acidity similar to vinegar but leaves a fresh, pleasant scent. Mix equal parts lemon juice and water, pour it into the reservoir, and run a brewing cycle. Follow with two rinse cycles using plain water.
Using Baking Soda:
Baking soda works great for deodorizing and mild descaling. Add ¼ cup of baking soda to a full pot of warm water, stir until dissolved, and pour it into the water reservoir. Run a full cycle, then rinse thoroughly with fresh water to remove any residue.
Commercial Coffee Descalers:
If you prefer ready-made cleaners, commercial descalers are available in both liquid and tablet form. They’re specially formulated to dissolve limescale and mineral deposits without leaving odors. Always follow the manufacturer’s instructions for the best results.

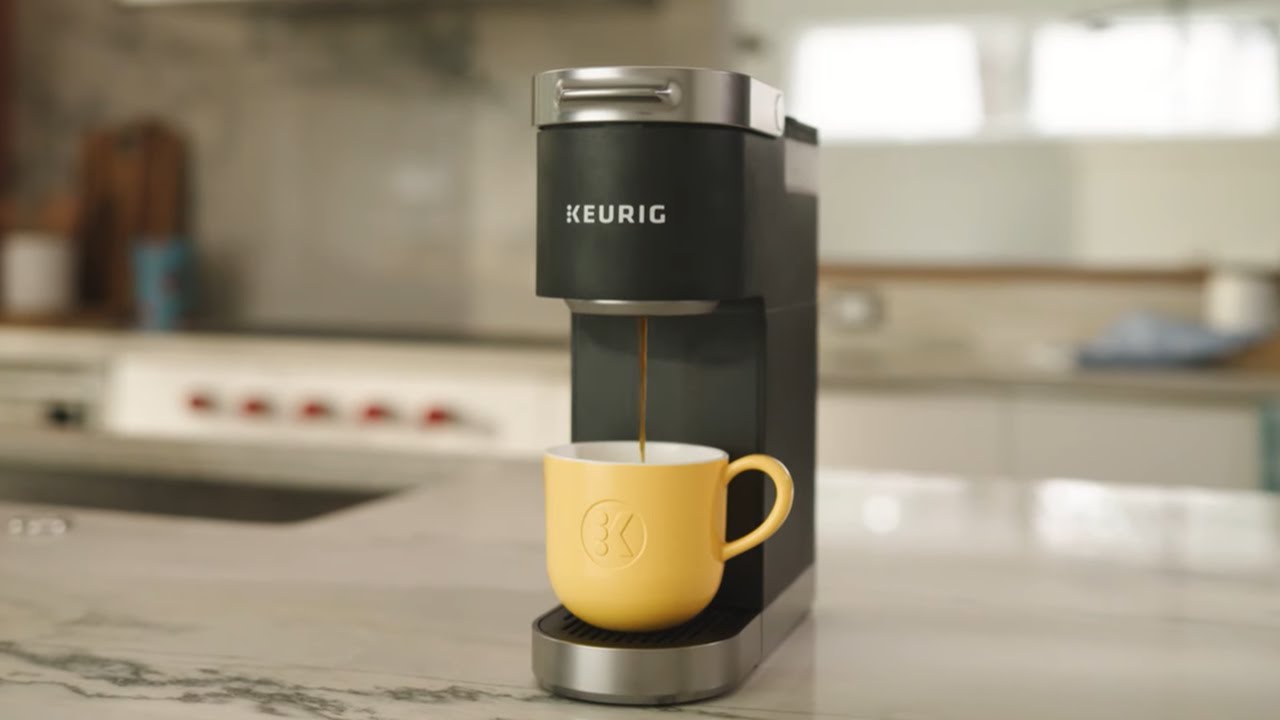
Cleaning a Single-Serve Coffee Maker
Single-serve and pod-based coffee machines, such as Keurig or Nespresso, also need regular cleaning to prevent clogging and mold growth.
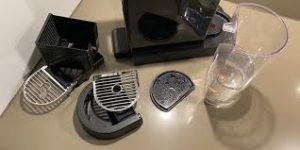
-
Unplug the machine and remove the drip tray and water reservoir.
-
Wash the reservoir, tray, and pod holder using warm, soapy water.
-
Mix equal parts vinegar and water and fill the tank.
-
Run a brew cycle without inserting a pod until the tank is empty.
-
Rinse by brewing two full cycles with clean water.
-
Use a small brush or toothpick to clean around pod needles or spouts where coffee grounds can accumulate.
Regular cleaning ensures the flow remains strong and your coffee tastes consistently rich and smooth.
Cleaning an Espresso Machine
Espresso machines require special care because of their high-pressure brewing system. Cleaning regularly keeps your shots flavorful and prevents clogging.
-
Remove the portafilter and wash it thoroughly with warm, soapy water.
-
Wipe the group head and outer body using a damp cloth or espresso-safe cleaner to remove coffee oils.
-
Run a vinegar-water solution through the water tank to descale, then flush the system with clean water.
-
Always clean the steam wand after use — wipe it with a wet towel to prevent milk buildup.
Frequent cleaning will maintain the pressure, flavor, and performance of your espresso machine while preventing costly repairs.
How to Keep Your Coffee Maker Fresh Daily
To maintain your machine’s freshness and prevent buildup, follow these quick habits:
-
Always use filtered water to minimize mineral deposits.
-
Empty the carafe after every use instead of leaving coffee inside.
-
After washing, leave the lid open to let the inside air dry.
-
Replace paper filters regularly and rinse reusable ones thoroughly.
-
Avoid abrasive or harsh cleaners that can scratch surfaces.
These small steps go a long way in keeping your coffee maker clean and your coffee tasting perfect.
How Often to Descale Based on Water Type
The frequency of descaling depends on the hardness of your water. Hard water contains minerals like calcium and magnesium that accumulate faster inside your machine.
-
Soft water areas: Deep clean every 2–3 months.
-
Hard water areas: Descale every 1–2 months.
If you’re unsure about your water hardness, check for white residue inside your machine — a clear sign it’s time for descaling.
The Reward: Fresh Coffee, Every Time
Once your coffee maker is clean, you’ll immediately notice the difference. Freshly brewed coffee tastes smoother, less bitter, and more balanced. Your machine will also perform better — water will flow evenly, and brewing will be quicker and quieter.
Cleaning your coffee maker is not just about maintenance; it’s part of the brewing process itself. A clean machine ensures every cup is as good as the first, giving you the perfect start to your day.
Conclusion
Maintaining a clean coffee maker is one of the easiest ways to improve your daily coffee experience. It doesn’t require expensive products or complicated steps — just simple household items like vinegar, lemon juice, or baking soda. By spending a few minutes regularly rinsing, descaling, and wiping your coffee maker, you’ll extend its life, prevent bacteria buildup, and enjoy coffee that’s always fresh and full of flavor.
A clean machine makes a better brew — and your next cup will prove it.